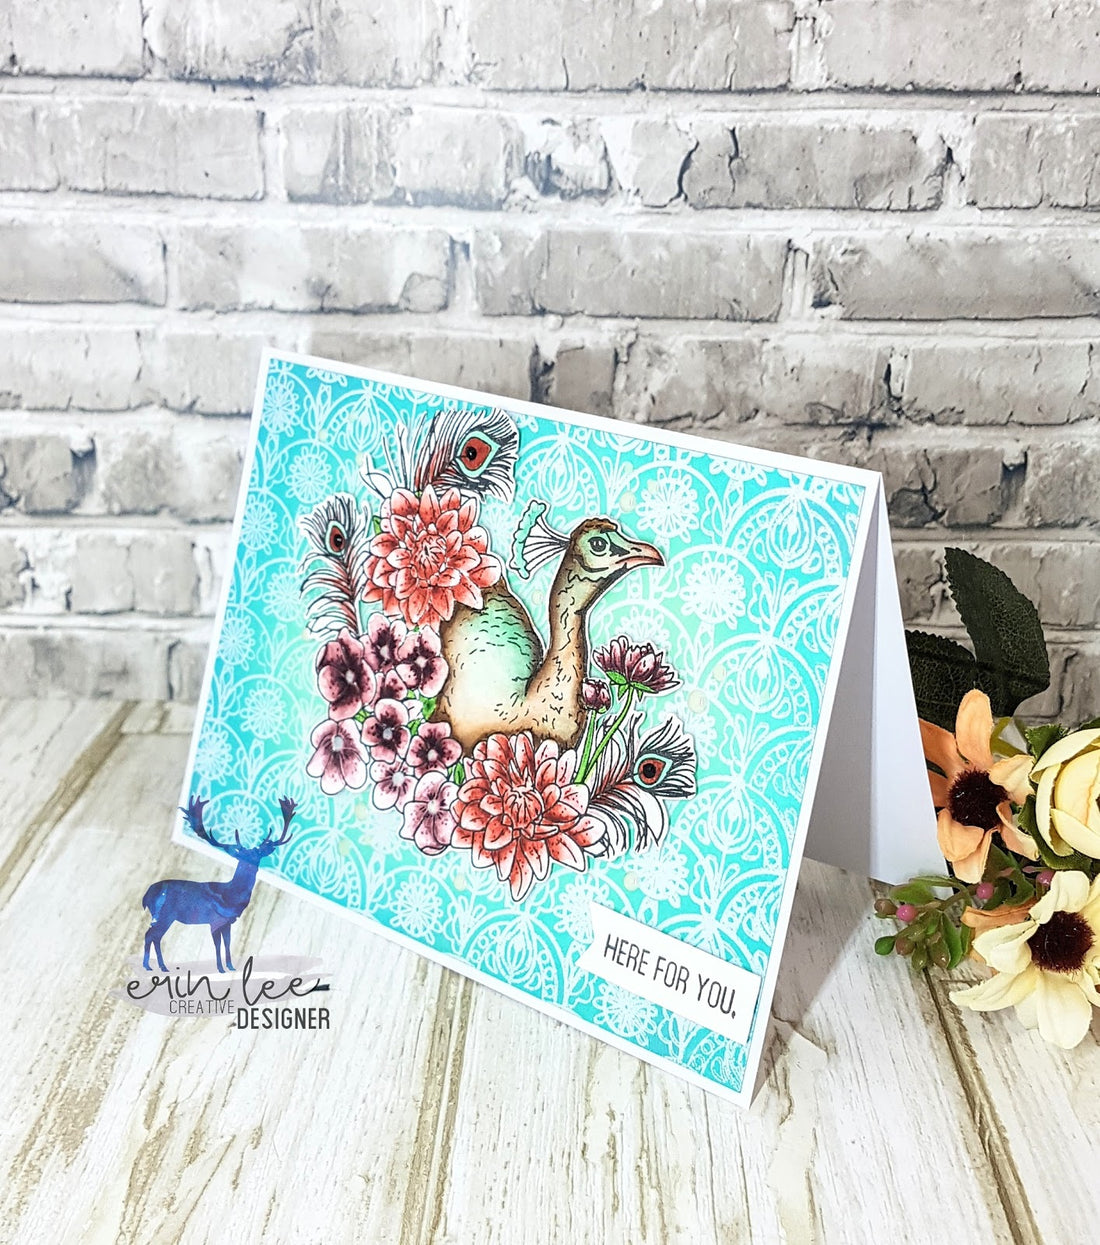
Floral Peacock Watercolour
Share
Hello everyone! I hope that you’re having a good day.
Today I would like to share with you this awesome card, made using stamps from Erin Lee
My first step was to stamp my peacock onto watercolour paper, as I was planning to do water colouring on my main image.I did use Gina K Amalgam Ink in black for stamping and Distress Markers for colouring.
I must say, that watercolouring this image was so much fun! I’ve decided to use warm tones for floral parts and brown with a hint of turquoise on peacock.
My next step was fussy cutting. I wanted to leave a little bit of white outline around the image, I think it looks more natural this way. I didn’t bother to cut between tiny spaces, as it wasn't too obviously distracting from the whole design.
Let’s move to our background. For this card, I just had to use this stunning Indian Background. The details on this stamp are amazing! When I saw it, straight away I wanted to heat emboss it on everything!
Here I have decided to use Hero Arts Pearl Embossing Powder on white cardstock. Then I went with Distress Oxide Inks in Broken China and Tumbled Glass to blend over my heat embossing. In results embossing powder resisted blended inks and pearl shine gave us beautiful finish.
 I like making one layer cards, but this one is definitely not one of them! I added foam adhesive to adhere main image in the centre of blended card panel.
I wanted the focus to stay on the peacock but still to show off this beautiful background.
That’s why I have chosen smaller sentiment from the same Floral Peacock set and stamped it on the same watercolour paper as the one I have used for colouring. I decided to go with just black Gina K Designs Amalgam Ink, because I definitely didn’t want to overwhelm the whole design with too much heat embossing.
I have also used foam squares to adhere it to my card.
As a finishing touch, I’ve chosen Nuvo Drops in Oyster Grey and randomly added them to my card.The only thing left to do was to adhere the whole panel to a standard card base with double sided tape.
All done!
Visit Erin Lee Creative if you are interested in any of the stamps used in this tutorial and don’t forget to subscribe!See you soon! Anna


